
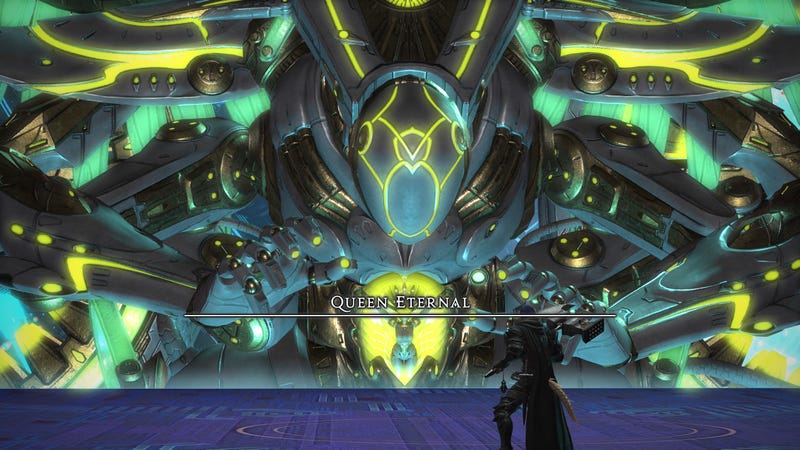
After a long, winding road filled with cutscenes, you’ll find yourself once again tasked with staving off a world-ending threat at the end of Final Fantasy XIV: Dawntrail. In the expansion’s final boss fight against Queen Eternal, you and seven fellow Warriors of Light will challenge Tuliyollal’s greatest threat in a climactic trial. This is the only instance in the Dawntrail main story that does not let you use the Duty Support option, so you naturally may want to know what you’re getting into before entering the Duty Finder.
Fortunately, if you’ve come this far in the expansion, you don’t have to do much to prepare for this encounter. First, make sure you’ve equipped your exclusive level-99 Job gear that became available in Tuliyollal after defeating the level-99 trial. Beyond that, whatever accessories you’ve picked up via dungeons will be good enough. The final boss fight can feel overwhelming during your first attempt. Take the time to focus on the mechanics of this battle if you don’t know what’s going on at first.
Here’s what you can expect to see during this final confrontation, as well as how to deal with them.

How to defeat Sphene, The Queen Eternal in Final Fantasy XIV: Dawntrail
Begin the encounter as you would any other fight. One Tank should begin the encounter, and the other Tank should be ready to use Provoke in case the main Tank goes down. DPS players don’t have to worry about positionals for this fight, they only need to move to dodge attacks.
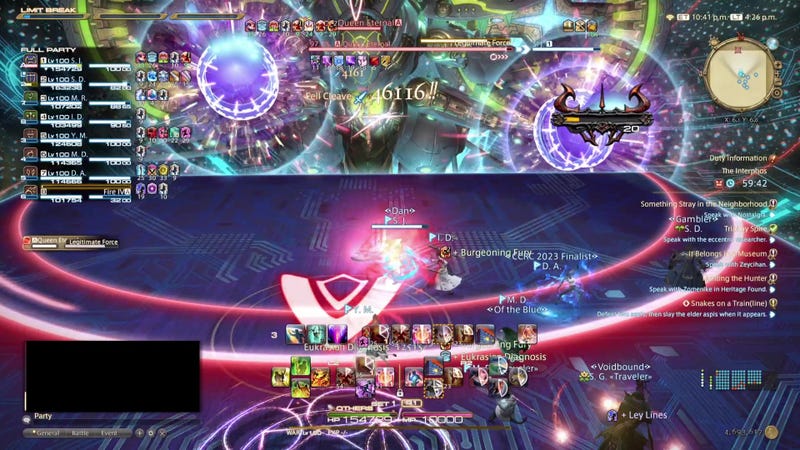
Legitimate Force
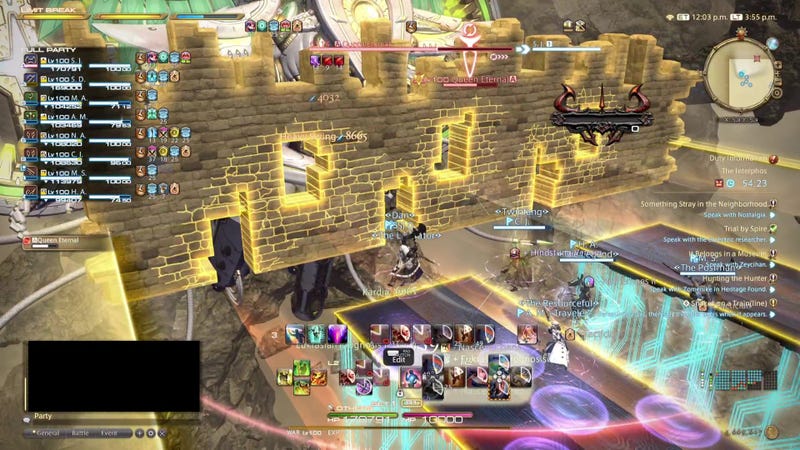
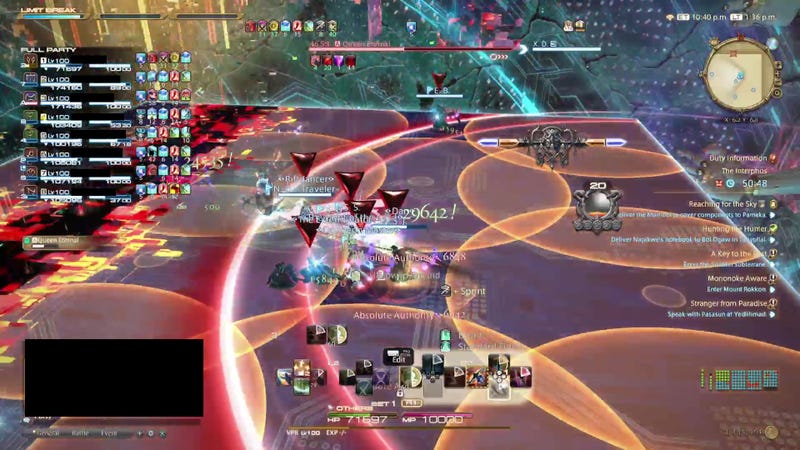
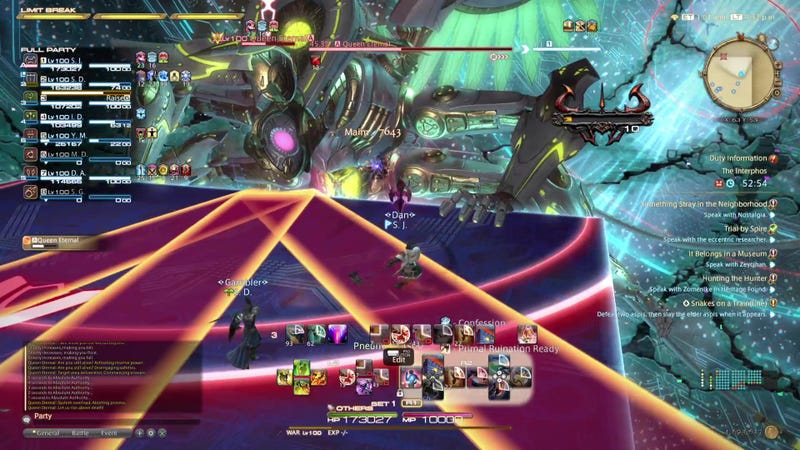
After a few auto attacks, Queen Eternal will cast her first recurring mechanic: Legitimate Force. You’ll see one of her four hands glow, with another second hand glowing roughly three seconds later. Once the cast bar for Legitimate Force completes, she’ll attack either the left or right side of the arena twice in the order that her hands began glowing.
To respond to this attack, position yourself on the “safe” side of the arena once you see her first hand begin to glow, that being the opposite side of whichever of her hands glows first. If you see her left hand (from your perspective) glow first, make sure you’re on the
right side of the arena and vice versa.
After you see the first attack resolve, move to the other side of the arena before she uses her second attack. You can use the arrow pointing towards your party to easily tell where the arena splits in half.
This first instance of Legitimate Force should strike both sides of the arena. However, as the fight goes on, Queen Eternal may only telegraph attacks to one half of the arena if both arms on the same side of her begin to glow. Keep in mind that Legitimate Force will always involve two attacks.
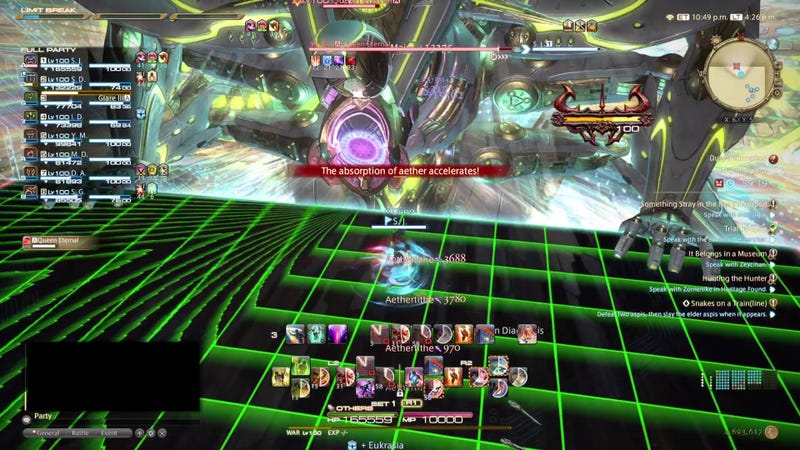
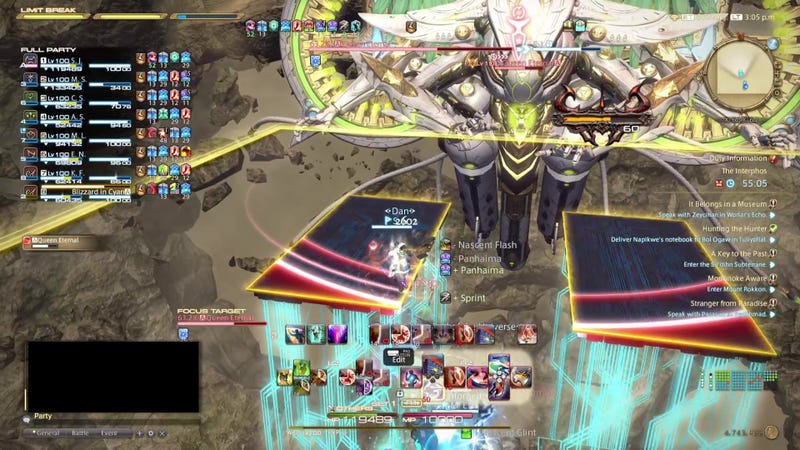
Aethertide
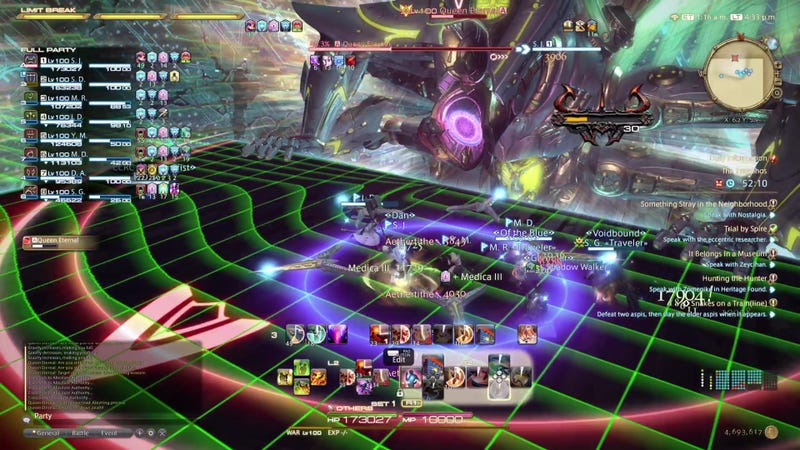
Shortly following Legitimate Force, you’ll see Queen Eternal’s second recurring spell: Aethertide. This causes the floor of the arena to turn into green squares that drift towards the boss. Also, a large swath of the arena will look distorted, as if it’s being pulled into Queen Eternal’s mouth. You’ll want to get out of that distorted section of the arena ASAP, and make sure you’re standing where you see even green squares.
If you’re hit by Aethertide, you’ll be immediately knocked out. There are no cast times to telegraph when each attack will land, so make dodging your first priority. Also, the party will take gradual damage during this attack, so Healers should cast regen healing on the party to keep everyone topped off.
Aethertide will always attack three times, each in a cone-shaped AoE that strikes the left, right, and middle of the arena (though not necessarily in that order). To dodge Aethertide easily, stay close to the boss and towards the center of the arena.

Coronation (circles)
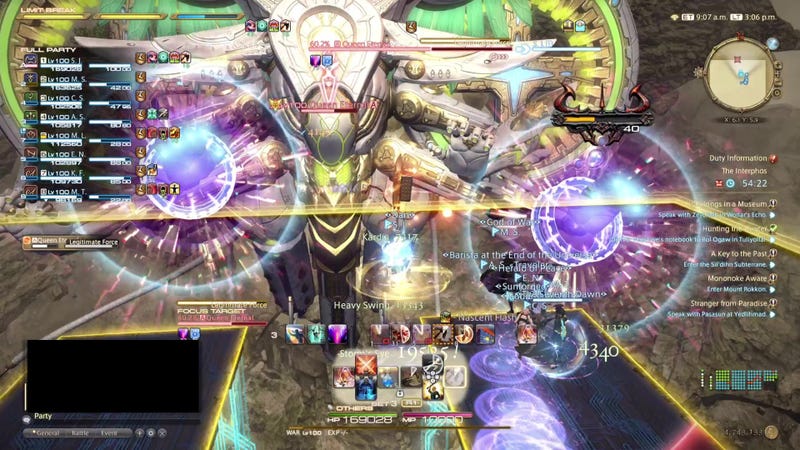
Next, Queen Eternal will use Coronation. This will spawn circular AoEs on the ground, each of which will lock onto one member of your party. The circle will perpetually follow its target until you see green lines and arrows appear on it, at which point it will lock into place and strike the area about two seconds later.
If you’re targeted by Coronation,, bait your AoE to a safe spot, wait for the green markings to appear, and then immediately Sprint away. You should have enough time to dodge if done correctly.
While Coronation is in effect, the main Tank will be marked by the Prosecution of War attack. Fortunately, this doesn’t do too much damage, so the main Tank can easily handle this by using any defensive cooldown. Healers can focus on dodging and inflicting damage.

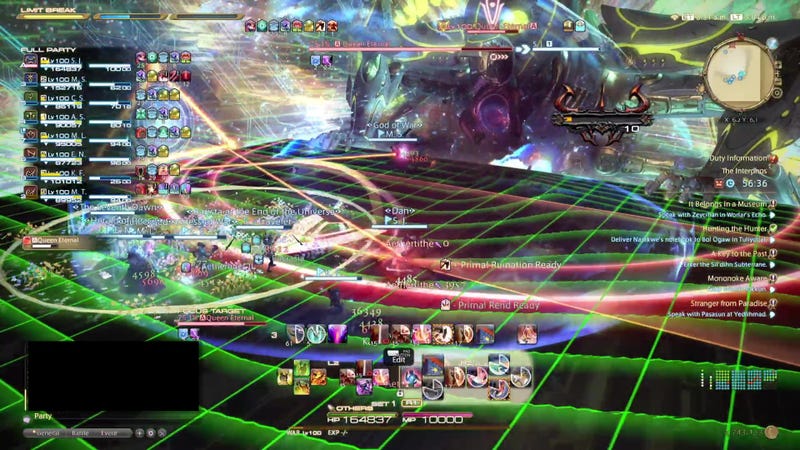
Virtual Shift (The X Phase)
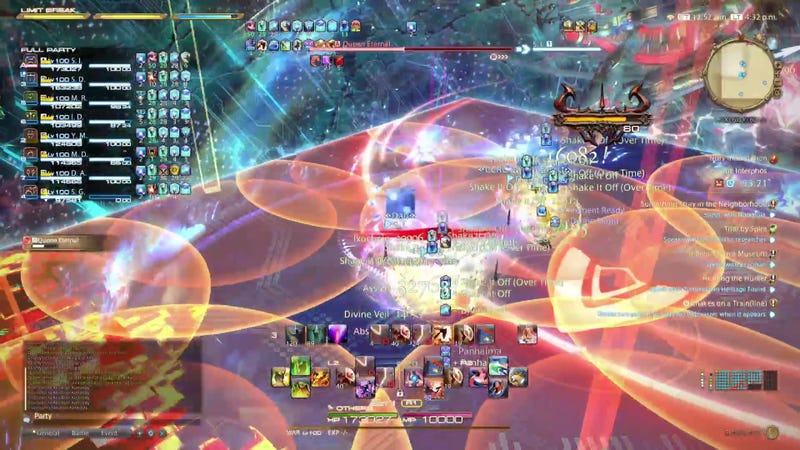
Queen Eternal will use another Legitimate Force, followed by a long cast called Virtual Shift. This will knock the party up into the air and land them on the center of a new X-shaped platform. Virtual Shift will inflict moderate damage to the party, so either use party mitigation beforehand or prepare a healing spell after the attack lands to get your party healthy again.
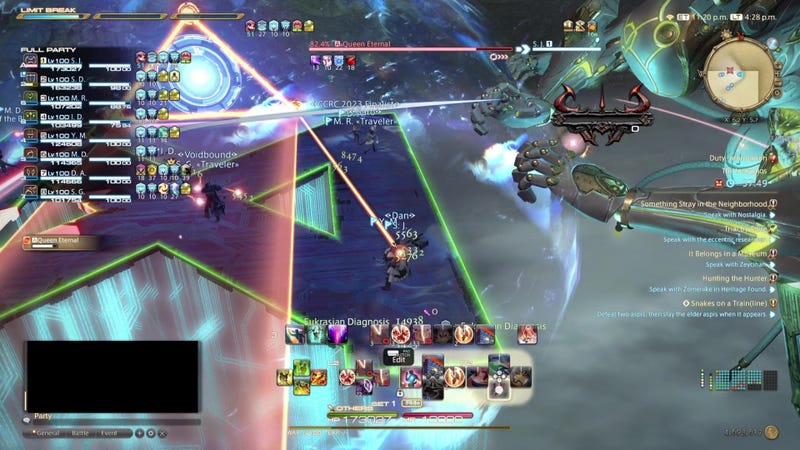
Coronation (Tethers)
You’ll see Queen Eternal cast Coronation again, but its effect is a bit different at this phase in the fight. Two party members will have tethers attached to them, and a rectangular AoE will appear between them. The AoE will effectively land in the middle of the two marked players, so each player should move to the front and back of the arena respectively to dodge the attack.
The remaining players should move away from the center of the arena so they don’t get clipped by the AoE once it goes off.
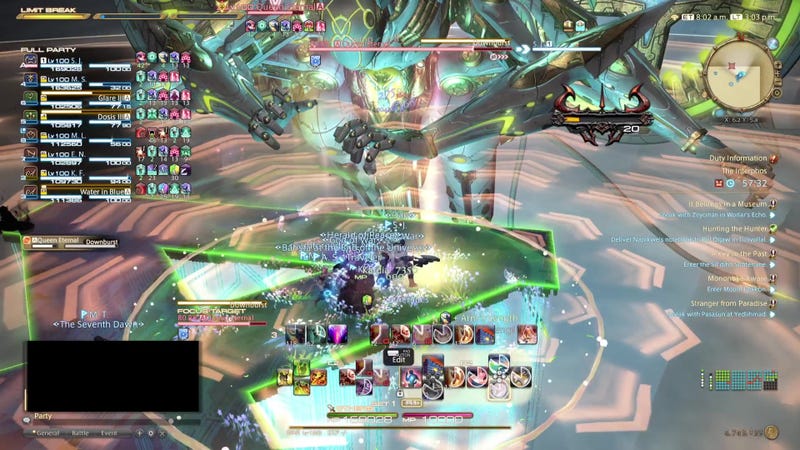
Downburst
Next, Queen Eternal will cast Downburst, which is a knockback attack. This one can be a little tricky to parse given the odd shape of the arena. The easiest way to handle Downburst is to use either Arm’s Length or Surecast to avoid the knockback effect altogether.
To survive this attack, you’ll want to position yourself so you’re knocked back diagonally across the “X” part of the platform. Even if the knockback marker is alongside the top of the platform, it’ll be positioned in such a way that you’ll fall off if you try to get knocked back horizontally.
Following this attack, you should see lasers descend from the sky and form a circle. Stand in the middle of these lasers, as anyone outside of this circle will take damage. Even though this attack lacks a castbar, you’ll see it pop up again as the fight progresses, so make sure to keep your eyes peeled.
The rest of this phase is fairly straightforward. Queen Eternal will cast Powerful Gust, which is another knockback skill. However, this will push the entire party horizontally, so you can easily position in a corner of the platform and survive this attack. Afterwards, you’ll see another cast of Virtual Shift charge, which will warp you back to the default arena once the skill goes off. Just like before, make sure to mitigate and heal as needed, since this will inflict damage to the party.
Intermission
Fortunately, by this point in the fight, you’ve seen almost all the recurring mechanics Queen Eternal will throw at you. You’ll see some combination of Coronation, Aethertide, and Legitimate Force from here, but you can easily deal with each mechanic sequentially. Just remember what you’ve learned so far and you’ll be fine.
Keep fighting, and Queen Eternal will cast Virtual Shift yet again. However, instead of launching you back onto the X-shaped platform, you’ll find yourself in a new arena that can catch you off guard if you don’t know what to expect.
The Floating Walls Phase
Virtual Shift will knock you and the rest of the party to the back edge of the arena, except you’re… floating? In front of you, you’ll see two rectangular platforms. Don’t panic, you’re safe now. However, you’ll first want to move so your character is hovering over those platforms. Melee players will want to do this anyway, since Queen Eternal will remain out of reach of your attacks otherwise.
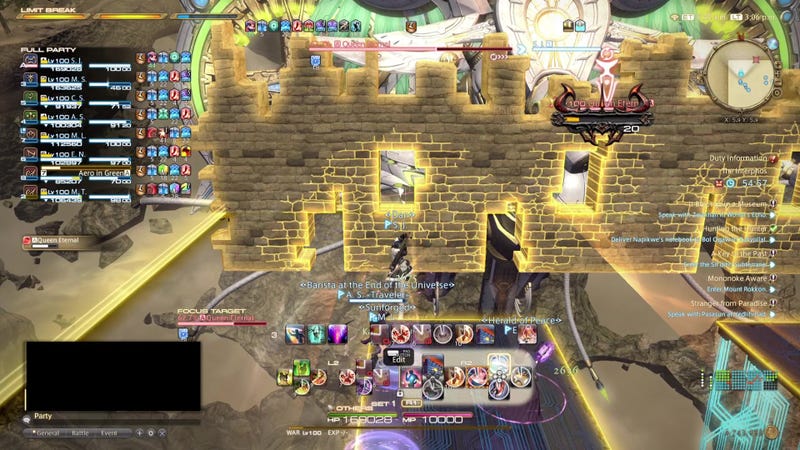
Castellation
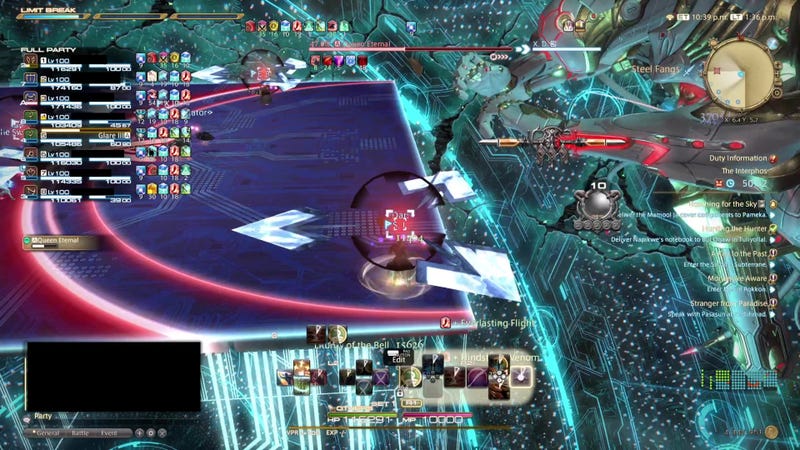
The gimmick of this phase is the spell Castellation. When cast, Queen Eternal will summon a giant wall with holes in front of you. After a short pause, the wall will rush towards the party. To dodge this, you’ll want to line your character up with one of the holes in the wall. Keep in mind that you’re floating for the first iteration of this attack, so make sure that you line yourself up with a hole that matches your elevation.
If you struggle with depth perception here, there’s fortunately another clue that will help you figure out how to position yourself. Each hole will emit a subtle ray of light that extends across the platform. If your character is inside a ray of light, they’re safe. Feel free to turn the camera around to make sure your positioning is just right here.
After the first Castellation, you’ll see a message stating “Gravity increases, making you fall.” Make sure that your character is above a platform (you should see a purple circle beneath you), and Queen Eternal will prepare another round of Castellation. This time, you’ll want to line up your character with holes on the bottom of the wall. The ray of light trick still works here.
Next, you’ll see the message “Gravity decreases, making you float.” This corresponds with another Castellation. You’ll start floating before the wall rushes towards you again, so dodge this one like you did the first time around.
Floating Legitimate Force
To finish off the phase, Queen Eternal will switch it up by casting Legitimate Force. You’ll see her hands light up exactly as you did the first time she used this attack, except you’ll see the “Gravity Increases, making you fall” message right before it goes off. Don’t worry, you’ll remain floating while Queen Eternal uses Legitimate Force. Dodge the first part of Legitimate Force, move to the safe side of the arena, and position yourself above the platform so you land safely after the attack.
After this, you’ll see another cast of Virtual Shift, which will revert the arena back to its default state. Once again, heal and mitigate as necessary.
Absolute Authority
After returning to the arena, you’ll need to dodge another Legitimate Force. However, this time, the attack is paired with the circular lasers you saw during the “X” phase. Dodge Legitimate Force as you have up to this point, but watch out for where the lasers land on the arena so you can position yourself in the center of them.
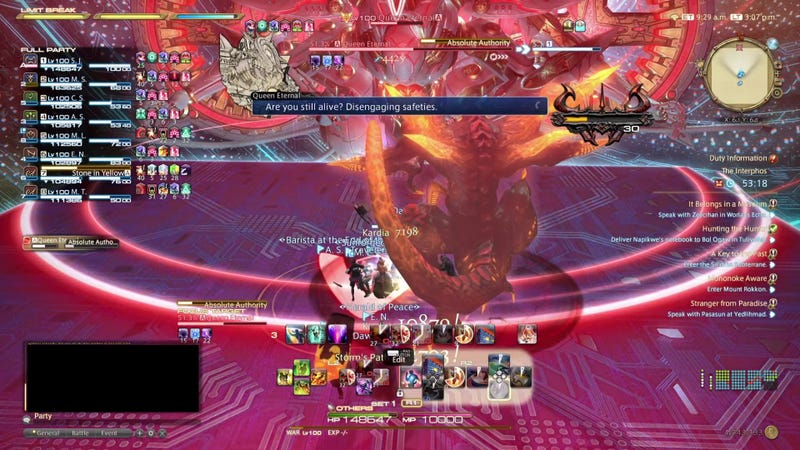
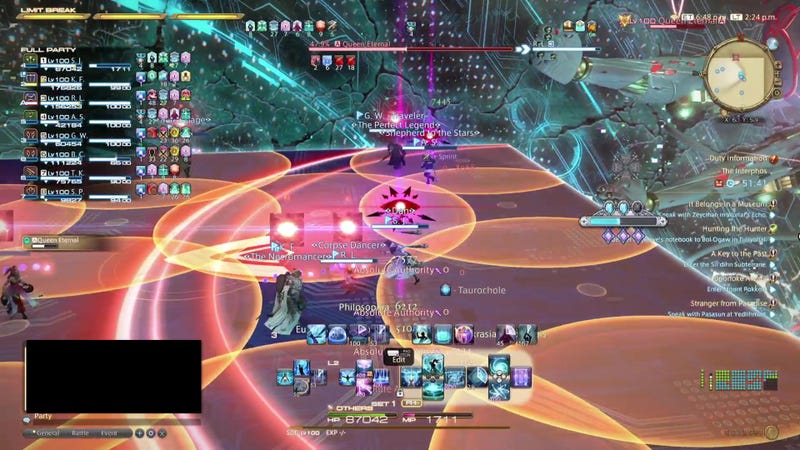
Your next challenge here is the skill Absolute Authority. You might as well consider this attack Queen Eternal’s Limit Break. Absolute Authority starts with a very dramatized telegraph, with an especially long cast time and a loud alarm sound. You can’t miss it.
Absolute Authority will feature several raid mechanics that fire off in rapid succession, but don’t panic. Your party can survive even a botched execution of this attack.
Here’s what you should expect from Absolute Authority.
1: Each DPS player will see a proximity AoE attack marked above their heads. Each of these players should retreat to each corner of the arena, and Tanks and Healers will want to stay close to the center.
2: Tanks and Healers will see red triangular markers above their heads, and several circular AoEs will litter the map. All players will want to find a safe zone where no circular AoE is located.Tanks and Healers will want to move to the same safe spot so they’re stacked together by the time the red markers go off.
3: The circular AoE’s will respawn, so find another safe zone ASAP. Tanks and DPS alike will have to resolve Acceleration Bomb markers, which will count down and knock victims up in the air if they are attacking or moving when the marker reaches one. Just move quickly into a safe zone so you can stop moving immediately.
4: The circular AoEs will respawn one more time, and Gaze markers will appear above the Healers’ heads. Everyone should find safe zones as usual, and all players will want to look away from the Healers to avoid being turned to stone.
That’s a lot of mechanics for just one attack! However, you may notice that Healers have the fewest mechanics to deal with here. What’s more, your party will instantly earn Limit Break 3 once this attack resolves. As long as one Healer survives this onslaught, they can cast Limit Break 3 and bring the entire party back to life.
I recommend piling on as much mitigation and barriers on your Healers as you can before Absolute Authority finishes casting. Healers should focus on dodging attacks and healing themselves, since only one of them needs to remain alive to bring the party back to life. If you’re overwhelmed by the mechanics, just focus on the essentials. There’s no need to maintain top DPS uptime if it means getting hit by avoidable mechanics.
Divide and Conquer
Believe it or not, there’s one more attack Queen Eternal will throw at you from here. When she starts casting Divide and Conquer, line AoEs will target each player sequentially. They’ll follow the marked player and can’t be dodged like with the Coronation AoEs, so players should spread out so they don’t overlap with other players.
The Kitchen Sink
At this point you’ve now seen all the main mechanics Queen Eternal will throw at you. She’ll start using all of her previous attacks in rapid succession, so stay on your toes and keep dodging through the onslaught. If your party is feeling overwhelmed, consider using any defensive cooldowns if you have them. Healers can use any two minute cooldown skills to enhance their healing at this point as well.
You’ll see Queen Eternal charge Absolute Authority again. If your party has dealt sufficient damage (with Queen Eternal’s health hovering around 30 percent), you’ll trigger a phase transition right after the DPS resolve their proximity markers. However, if Queen Eternal still has a lot of health left, you may need to resolve Absolute Authority just as you did before. In this case, you can still count on a guaranteed Limit Break 3 to save your party, so make sure at least one HJealer survives at all costs. The fight’s mechanics will keep looping until you’ve weakened her enough.
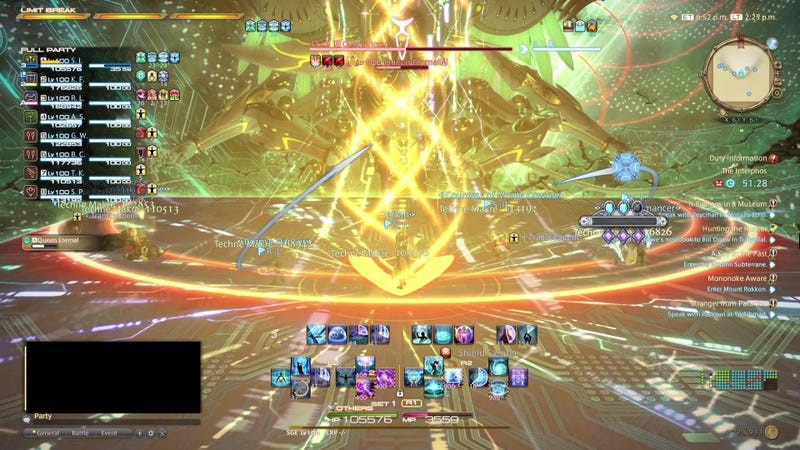
Final Phase (The Victory Lap)
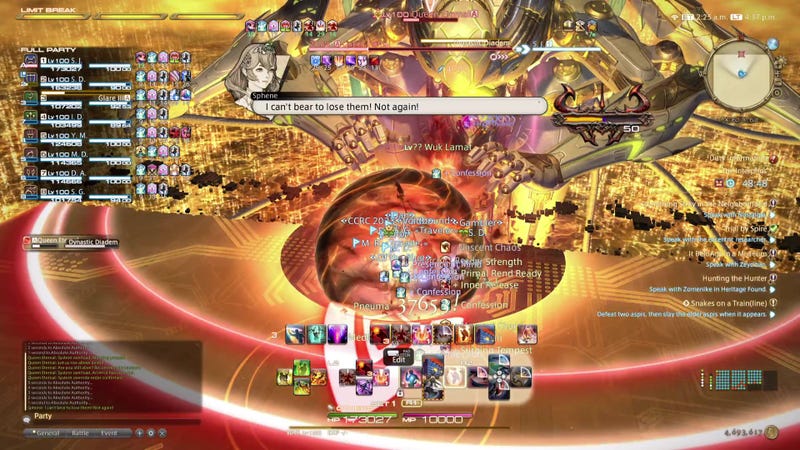
After a dramatic cutscene plays out, the music will change and the party will enter the final phase of the Queen Eternal battle. Fortunately, much like the final phase of the Endsinger fight from the Endwalker expansion, all the hardest parts of the fight are behind you.
You’ll only have to worry about two easily avoidable attacks at this point. The first of these is Dynastic Diadem, which targets the entire arena save a small circle in front of the boss. Simply move into the safe zone to dodge this.
The second mechanic is Royal Banishment, in which Queen Eternal will repeatedly inflict weak damage on the party as two sets of cone AoEs appear on the arena. Take note of where the first AoEs appear andwait for them to resolve.Then, move into those newly created safe zones to completely dodge the attack. Healers can use a cooldown for party-wide healing to easily match the outgoing damage here.
That’s the entire final phase! After the dialogue finishes, the party will receive a massive damage buff, making the remainder of the boss fight a breeze. Just keep fighting, focus on dodging, and you’ll have your victory in the bag. Congratulations on finishing the main story of Final Fantasy XIV: Dawntrail!
.
Leave a Reply