
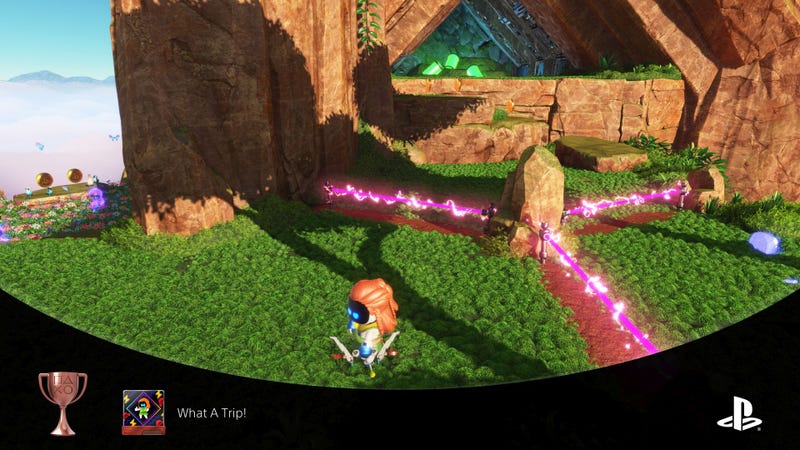
Astro Bot isn’t the toughest game, but there are still a couple of stages that will give even the most seasoned players some trouble. The ultimate trial the PlayStation 5 platformer has to offer is the “Grand Master Challenge” which will force you to use every tool you’ve learned to conquer it. Here’s how to find this final gauntlet, as well as some tips for completing it, and the goodies you obtain once you do.
How to Unlock the Grand Master Challenge
Before you can even attempt the Grand Master Challenge, you need to unlock it. Doing so is a pretty epic task, requiring you to rescue all 300 bots and find all 120 puzzle pieces. This means you also need to find all secret exits to gain access to the hidden levels in the Lost Galaxy Nebula.
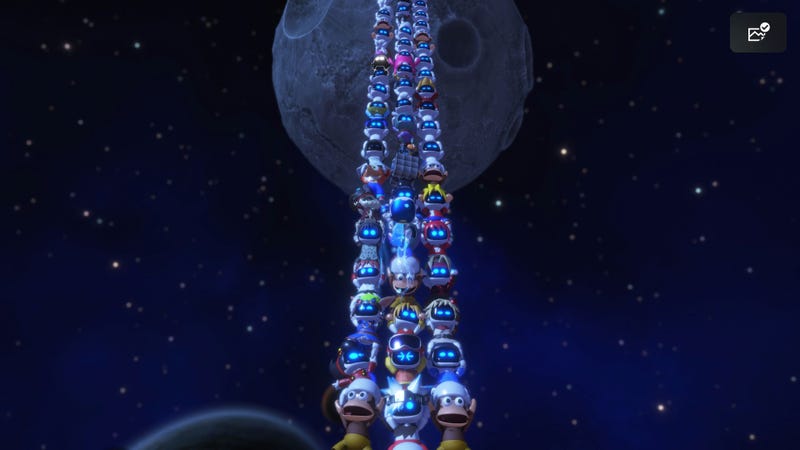
After you do this, go to the Crash Site and find a golden statue in the main area. There will be a call button to gather all 300 of your bots to have them build a massive wall that you can run up. Doing so will put you to the gates of the Grand Master Challenge. Enter those doors and get ready for the most intense trial in Astro Bot.
How to Complete the Grand Master Challenge
The Grand Master Challenge pulls from some of the earlier Symbol challenge levels, so you’re going to need the tools you learned completing those to tackle this beast.
Right off the bat you will have a couple symbol platform spinning and moving. Pretty simple, just jump across.
You will then come to a walkway, with two enemies to the side sending out shockwaves. Jump over them and make your way to the jump pad.
This is when it starts to get tricky. Hover over the enemy swinging the chain to destroy him with your beams, then you can (somewhat) safely land on the next platform. Two more shockwave enemies await. Evade their blasts and loop towards the metal enemy so he attacks you and gets stuck in the ground. If your timing is good, you can pull the wires on his head before the others send out their attacks again. Vault over the shockwave-bots’ next moves, and then leap to the pad and hover to the next section.
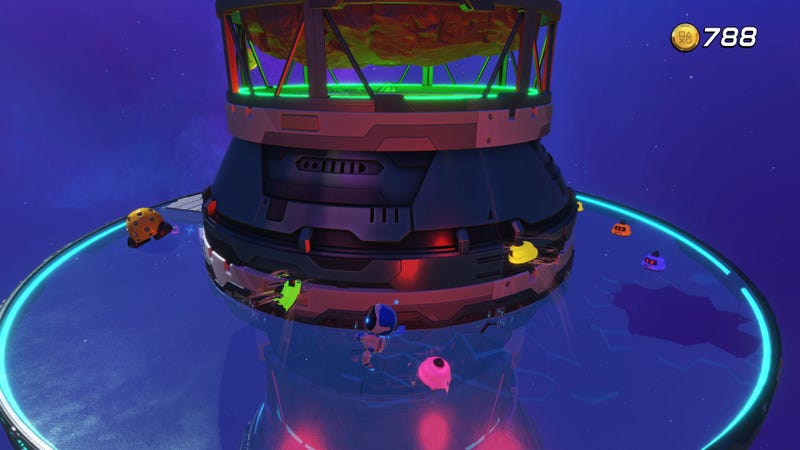
The glass here will start to crumble when you step on it, so you have to move quickly. To make matters worse, on the second and third level there are bots who will stick to you, and—unless you shake them off—explode, as well as some enemies that emit spikes. Hold down the “square” button during these sections and when you see the small bots latch onto you, release it. You can also then use this spinning attack to dispose of the spiky enemies on these floors, assuming they are not armed, which they usually aren’t.
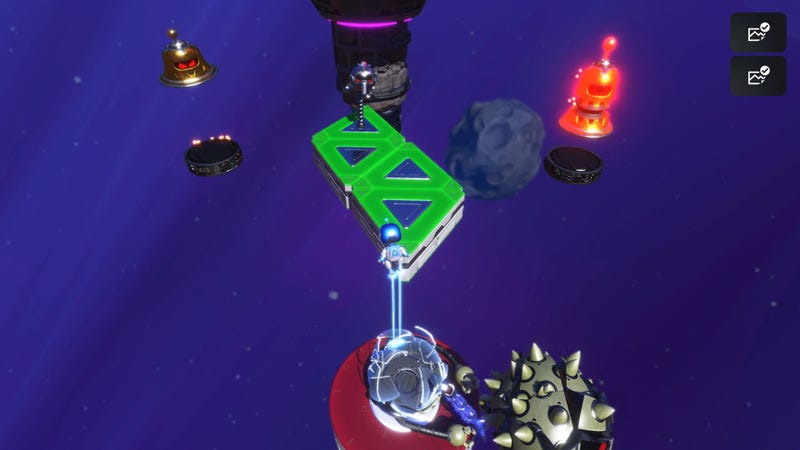
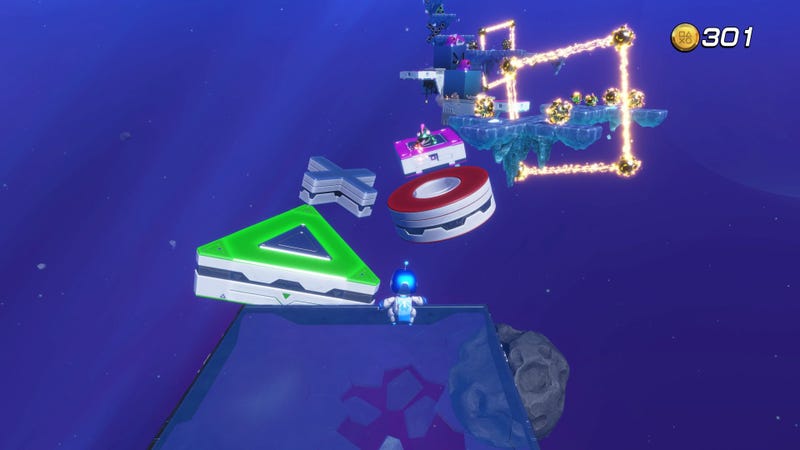
Jump onto the Triangle platform and then hover above the electric robot on the circle platform to make it safe to land. You can bypass the purple enemy on the X-shaped platform and jump directly to the pad on the square one, but make sure to avoid its projectiles.
You then have some basic movement obstacles that force you to run up one wall, jump off to an adjacent wall, hover over some flames and then run up another wall with three enemies on it. As long as your reflexes are decent you should be able to get past this, as you are usually moving too fast for the enemies to get a shot off before you dispose of them. At the top is another glass floor.
I recommend avoiding the triangle platform and moving directly to the circle one. It is raised slightly higher, so it acts as a natural cover for the lizard bot shooting fireballs at you, removing what could be a major nuisance. You can then pretty easily make it to the square-shaped platform and use your hover beams to take out the opponent, reducing the need for the “X” platform and potential space to get hit.
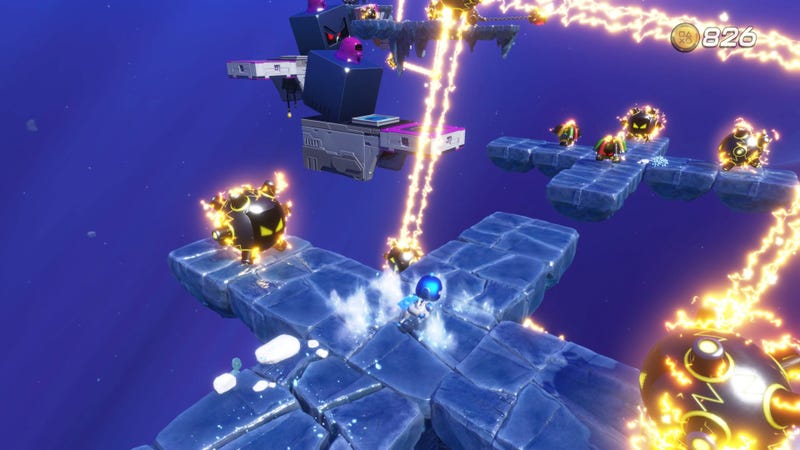
Skate along the ice, then jump and hover to take out the electric enemies. You don’t have to, but it does give a potential landing spot to regain your jump, before moving over to the two platforms that have a giant moving block with enemies on top. Not only do you have to avoid getting squished, but you also need to evade the projectiles the slime balls are shooting at you.
Take your time and wait until they fire off an attack before making your move, or you might be too close to avoid it. Alternatively, you could use the jump-pads and bypass them, but it can be a little more stressful, and this is the closest thing to a breather before the end of the stage—you may want to take advantage of it.
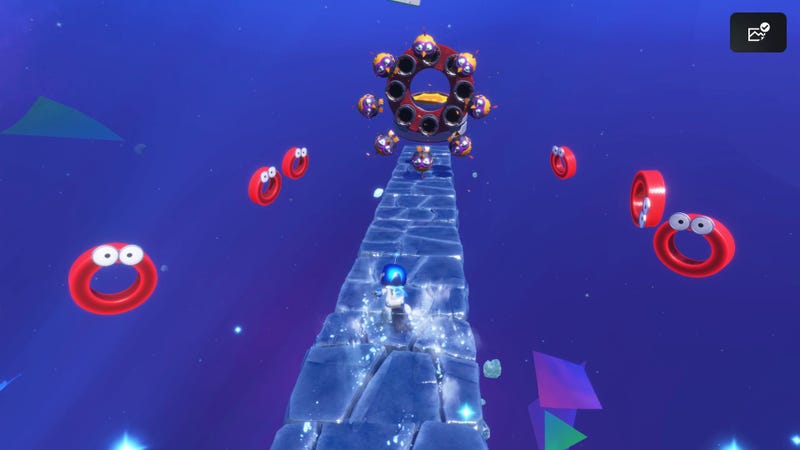
A little luck is required for this next section. There is an ice lane, a gap and another ice lane, with the second (and last) chain swinging enemy. You need to make sure you time your skating so the chain doesn’t make contact with you during your leap, so adjust your speed accordingly. If you extend your jump by punching in mid-air, you can make it from the first platform to the space above the robot to destroy him with your hover lasers, then all you have to do is skate and jump through the spinning symbols. Take your time on the X-shaped one, as it is incredibly easy to not actually touch the ground before leaping due to its unique shape.
This is the last portion of the level. There is a cannon firing chicken missiles in the shape of the PlayStation symbols. It goes, X, Triangle, Square and finally Circle. You need to skate across falling ice, so you must move forward at all times. The X and Triangle are not too bad, but as you get close, make sure to pay attention to where the cannons are in relation to the jump-pad, so you can coordinate your movement to avoid a last-second shot.
The square and circle are very similar, the circle the slightly more difficult version. Don’t hover or prolong your jumps. The time between shots is short so you want to minimize time in the air, or else you won’t be able to touch the ground before the next volley comes. Again, assume a last-second blast will come your way before the jump pads so you aren’t caught off guard, but once you make it through the circle cannon, you’re in the clear.
Proceed to the end of the level to find the 301st and final bot in the game, the Lyrical Master Bot from PaRappa the Rapper. Don’t worry, there isn’t a 302nd bot. You’re all done.
The below video shows how to complete the level.
What are the rewards for completing The Grand Master Challenge?
After you tear through the most excruciating stage of the game, you will be rewarded with two new cosmetics. The first is a new outfit for Astro called the “Throwback Outfit.” This renders the adorable bot in a block skin reminiscent of a PS1 era title. In keeping with the retro aesthetic, you will also get a new skin for your Dual Speeder named “The Gen 1,” which makes the ship look like the original Dualshock. These can both be equipped in their respective areas of the Crash Site.
The Grand Master Challenge is significantly harder than any other stage in Astro Bot, and requires a flawless performance to come out on top. However, much like the other Symbol Challenge maps earlier in the game, with enough persistence (and this guide), you can overcome anything Astro Bot throws at you.
.
Leave a Reply