
After farting around in Solstice trying to get some glow in our gear, break time’s over, Guardians. Maya Sundaresh is up to some creepy nonsense with the Vex, which means it’s time to put in that work again. And compared to the cakewalk Arena/Battlegrounds quests of Episode: Echoes, Encore: Overture is long and deceptively tricky.
But we’ve got you covered, we’ll show you exactly how to get in and get out of Nessus with a bare minimum of controller-yeeting frustration, and with one of the best Auto Rifles in the game waiting at the end. Click next to being our clinical guide.
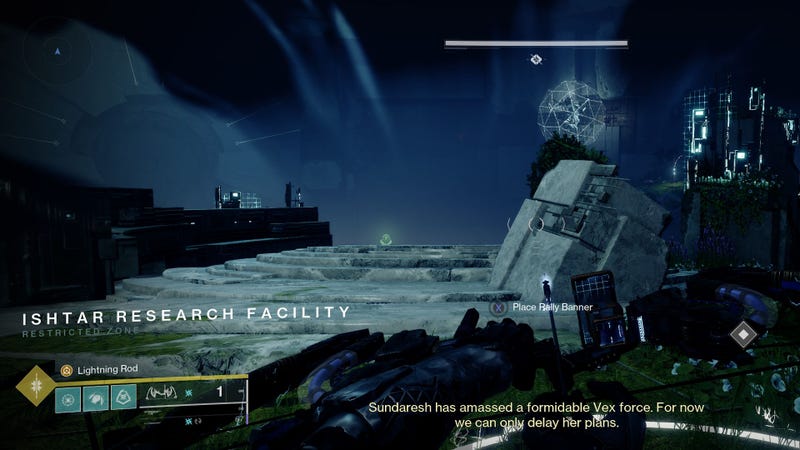
This is my hole, it was made for me
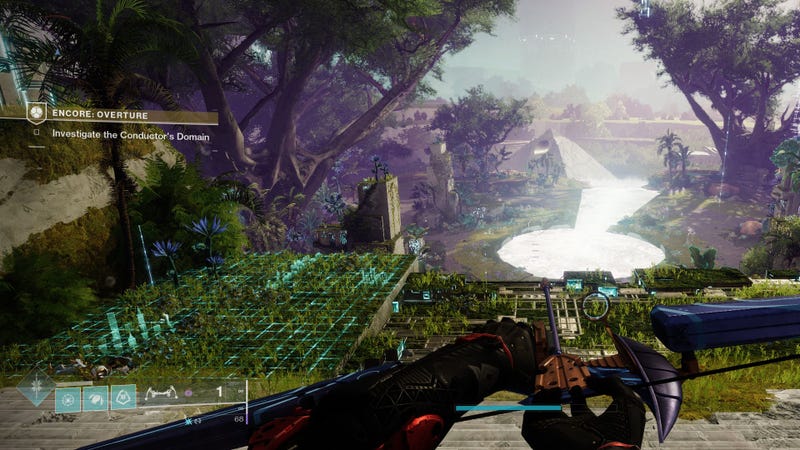
When you land, feel free to admire the scenery for a second, then start putting bullets through every Vex you see. There’s three of ‘em chilling out on your left as you walk straight ahead, then groups on the left and right when you jump down. Despite the 1945 power cap, the Hobgoblins here still pack more of a punch than advertised, so don’t get complacent. When you’re all clear, look off to your right.
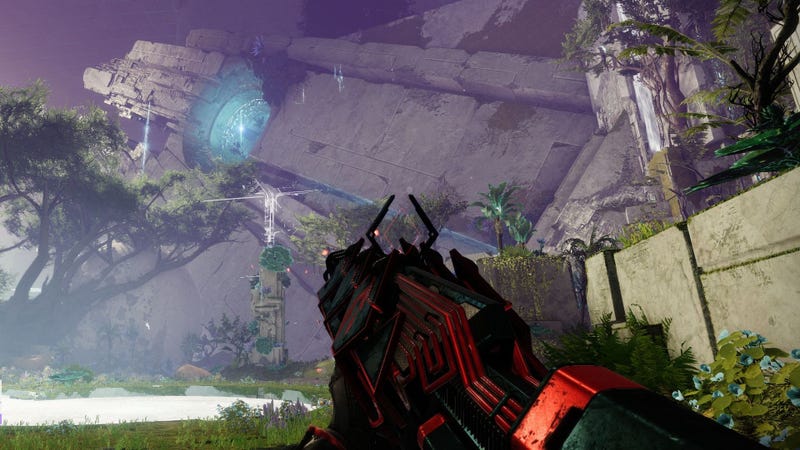
The big structure with the blue indent is your destination. Run over, you’ll see the sheer slope leading up to it is walkable. Head up to the blue area, and look down over the edge. Jump down into the hole below, and slide down till you can start walking down a corridor.

Follow it until you get to a chasm, and another crack in a wall across the way. Thankfully, it’s only gonna be one of those Exotic quests for a second here. As you jump over, the platform you’re aiming for will have a piston firing at you from the left. Time your jumps and floats carefully to avoid getting crushed.
After the piston, you’ll have to shimmy along the ledge on the left as far as possible without falling off. Look down and to your right, and you’ll see safe ground below. Jump down, and continue on. You’ll get to another big ass gap, with a platform with tiny red lights on the other side of it you’ll need to make a huge jump to land on. Once you do, wait for a platform with glowing light to come down to you on the right side, and head up.
Keep moving down this path till it ends, then look for a tower-like structure, which will have more glowing platforms to ride to the very top. Once there, head left through the claustrophobic tunnels. You’ll come to a few platforms on top of pistons that will raise you up slowly, then drop like it’s a ride at Six Flags. Don’t stick around those too long. Follow the tunnels until you come to an intersection. On your right is a glowy purple hole, the left goes to another glowing platform. The platform is actually an asshole of a trap that will send you rocketing out of the current room into the abyss. So, take the purple hole.
Modding community
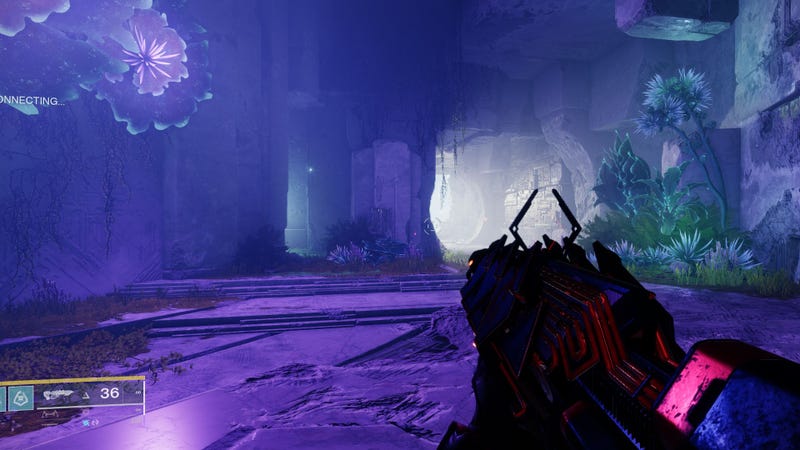
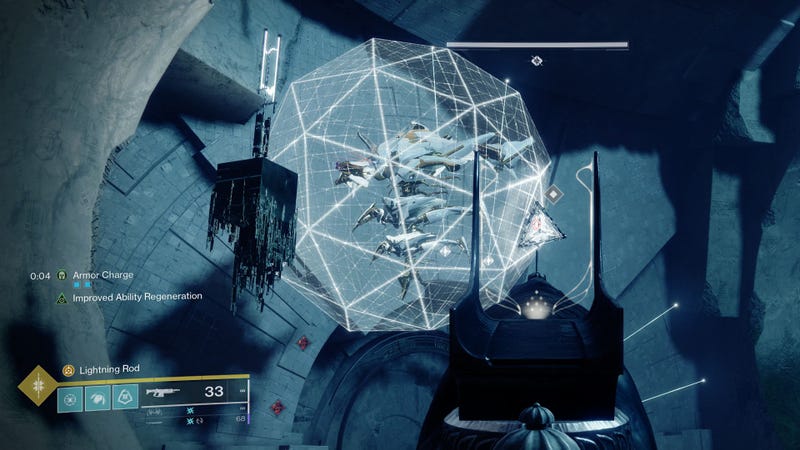
At the bottom, you’ll start noticing Maya Sundaresh is apparently in your DMs sending you creepy threats in the upper left corner of your HUD. Ignore those, and continue down the corridor on your right for some brief fresh air. Note the fancy bowl with the green hologram ahead.
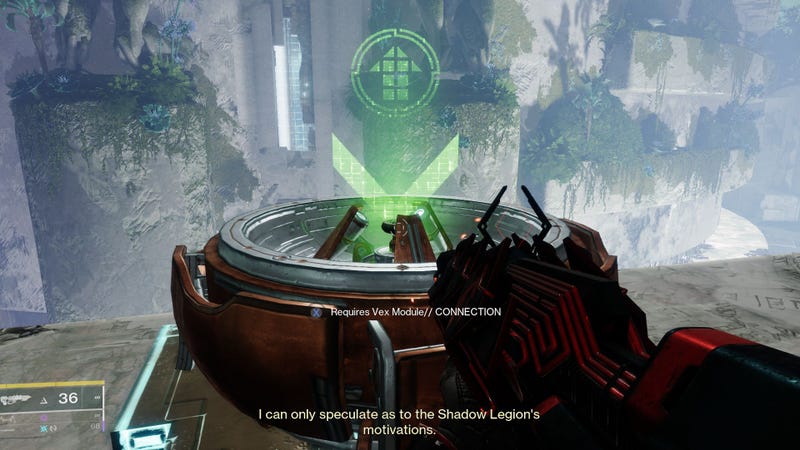
These are containers for Vex Modules, which are gonna be your new best friends for the rest of the mission. Right now, you’ve just got green ones (labeled “CONNECTION”) to deal with, and the Vex will start you off with a nice and easy puzzle first. From that first container, take a right, and fight your way through a small battalion of Shadow Legion all the way downstairs till you hit a white laser wall. Once they’re all gone, you’ll just have to deal with a scattered bunch of Vox Goblins spawning every couple of minutes.
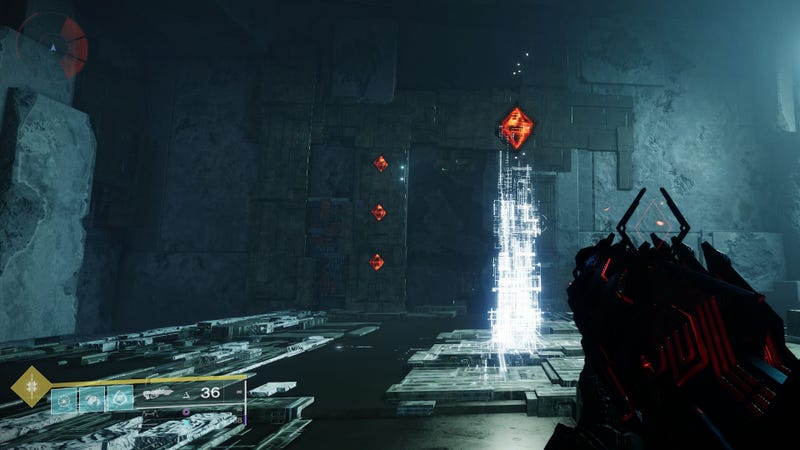
In the main chamber upstairs, you’ll notice a pillar with three gems embedded in the far wall across from the entrance, representing the three locks you’ll need to take care of to open the next path. Opposite the locks, you’ll see one of the module containers has a green beam shooting out of it. That beam means there’s a module in there to collect. Take the module, and you’ll see the way you came in is suddenly blocked off. There’s an empty green container nearby to drop it into. When you do, it’ll create a new platform with a white pillar in the center of the room. Interact with the white pillar, and that takes care of lock #1. Take back the module, and jump across the gap to the left where the Vex keep spawning. There’s another container there to drop the module into, which opens the room directly across from it, with another pillar that takes care of lock #2.
Grab the module again, drop down to the lower level, kill any Vex in your way, and drop the module in the container. This actually puts a platform in the gap, and takes down the white barrier wall. Go down the newly-opened dark corridor, and kill all the Vex in there. These guys will have a big brother, though, a Vex Minotaur labeled Independent Variable. Get used to taking down these douchebags, they’re in all the most aggravating parts of this mission, they have high HP, heavy Void shields, and they have this especially shitty habit of teleporting huge distances when they don’t feel like playing with you anymore. That’d be fine except for the fact they also tend to carry the modules you need to continue.
Anyway, take this one down—Void weaponry will at least make short work of his shields—and he’ll drop a fancy new yellow module labeled “PARTITION.” What a coincidence, there just happens to be a new yellow container in this room to drop it into. When you do, it’ll take down the barrier between you and the main chamber. Grab the green module from there, stick it in the green container in the dark hallway, which will reveal a path forward to the pillar that opens lock #3. Once you’re back where you started, grab the green module, head back upstairs, and put the module in the container that revealed the first pillar. That’ll give you the platform you can use to head into the pitch-black area ahead.
Throw me the module, I throw you the whip
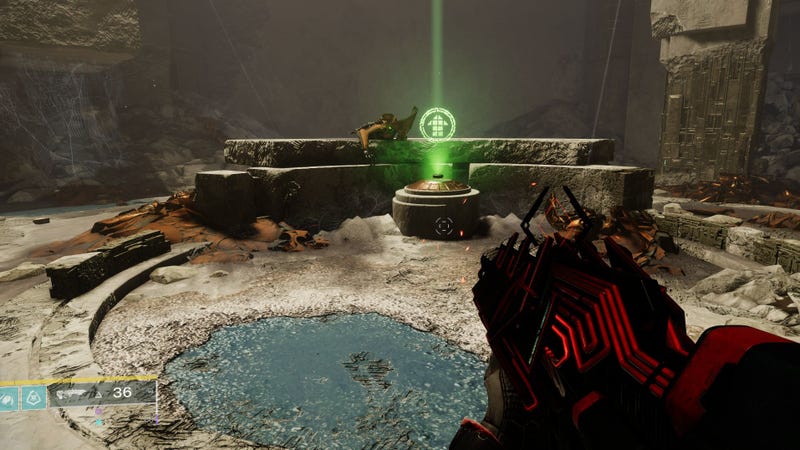
Follow the path ahead through the darkness, using the tiny red lights on the platforms here as a guide, until you get to a conspicuous little shrine with another green module. In case the dead Vex strewn around it weren’t a clue, yes, that thing is booby-trapped, Raiders of the Lost Ark-style. The second you grab it, your respawn is restricted, and one of those big red Vex walls of death will start chasing you. You need to turn tail and run, but there’s also new Vex in the way. Most of these guys are Vex Goblins firing peashooters, so don’t even waste time or bullets on most of these guys, although, you may want to make quick work of that Cyclops at the top of the stairs since it hits the hardest.
Head back the way you came to the main chamber. You may be pretty low on health when you get there, and the Shadow Legion that have spawned in there might be able to one-shot you because of it, but don’t worry, once you’re in there, your respawn’s back. Either way, clear the room, drop the green module in the very first container to open the way back to the outside area. Take the other module from the container nearby and head outside. There’ll be some new Vex to deal with when you get there. Take them down and drop the module you’re holding in the container to create a platform across the chasm here.
Now you’re thinking with portals
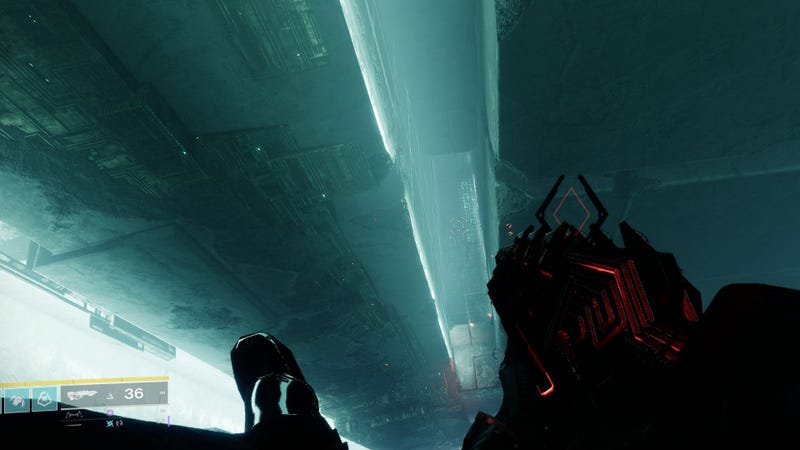
There are a few big jumps to make in the next area. You’ll eventually get to a room with enormous pillars. Look down and to the left for the platform you need to move on. Follow the path across the pillars till you get to a series of boosters. Follow them all the way up. Maya will start texting you when you reach the top of the area, just before you reach a room where you can sit back, relax, and watch the Shadow Legion get merked by the Vex. When there’s nary a big galoot in sight, take down the Vex, and you can move into the next room full of greenery which will have one of those Planetary Pistons you can hit with a hammer to unlock some Radiolite to collect.
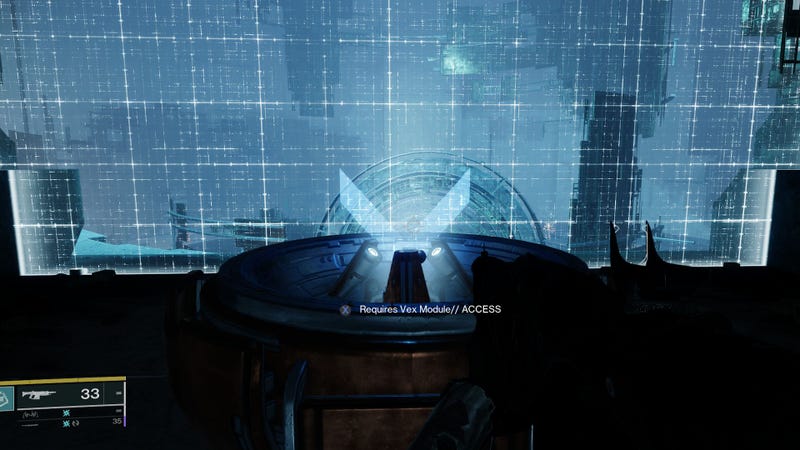
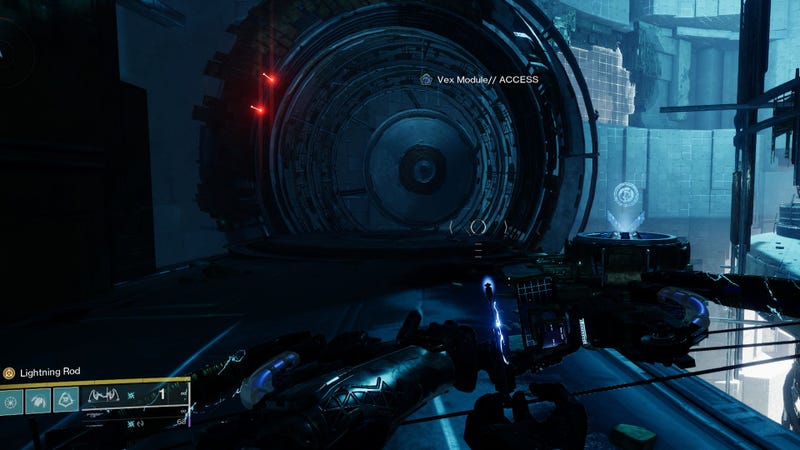
When you’re done mining, take the booster to the next floor up, kill the enemies here too. In the back of the room, you’ll be introduced to the third and final module container: a blue one labeled “ACCESS”. To answer your next question, grab the blue module in the room off to the right. Stick it in the blue container. The blue ones, apparently, open Vex portals. Neat. Walk on through the one you just opened. You’ll be surrounded by Vex, including a Hydra on the other side of the room. The cover in this place is pretty thin, but use it the best you can to clear the room.
Once you’re recovered, grab the blue module the Hydra dropped, put it in the container a few feet away. Grab the green module nearby, and go through the portal. Drop the module in the container on the right to create a new platform which apparently needs a blue module. Go back through the portal, grab the blue module from here, kill the Vex that have probably respawned by now, and go around the left-hand curve of the room to the other portal. Use the blue module here, and go through. You’ll be back in the room with the first blue module. Grab it from its container, go back through the active portal. Use the blue module you’re carrying in the container across the room, then grab the other one, go through the portal, and use the second module here. Step on through.
Prepare for trouble, make it double
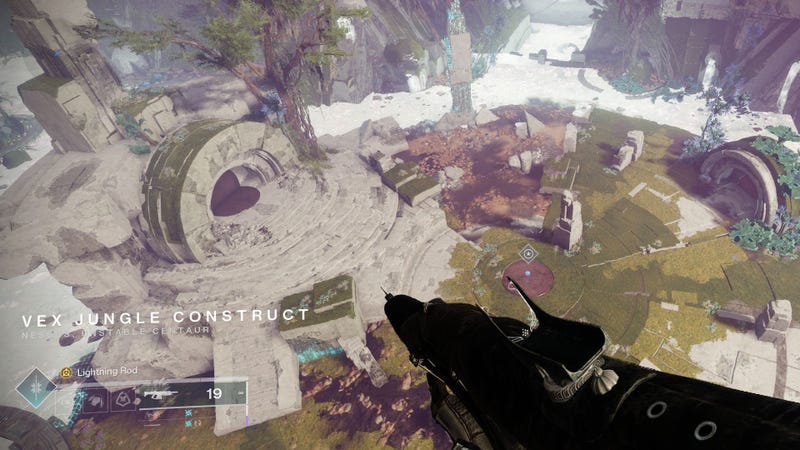
Welcome to the jungle. We’ve got fun and games. And by fun and games, we mean a pain in the ass twin boss fight with both a Tormentor and a Subjugator. Neither one of them is terrible on their own, but there’s a ton of Shadow Legion standing between you and the squishy bits you’re about to pump millions of rounds of ammo into.
After landing in the jungle area, raise your flag. Eexonios, the Subjugator, goes first. There’s nothing terribly special about Eexonios aside from the massive health bar. He’s still using all the same Stasis projectiles and shatter attacks as his lesser relatives. As mentioned, the big annoyance here is just how many Shadow Legion spawn while you’re trying to get shit done around here, made worse by the fact these guys all have beefed up protection.
Cleaning house takes a wee bit longer than normal, but they’re still just as dumb as ever. So, take the grunts out of the equation, staying in constant motion around the area, and if you can take a few shots at Eexonios while you’re doing that, by all means. Eventually, though, it’ll just be you and Stasis McSkinnyjeans. Get a good surgical weapon to take hard-hitting single shots at his head, keeping an eye out to make sure you’re not surrounded by stasis crystals at the wrong moment. Once you’ve taken out 30 percent of his health, he’ll disappear. That yellow shield in the middle of the area will vanish, and you can grab the blue module inside. Use it, open a portal, and you’ll meet Eexonios’ hideous partner in crime, Iizira.
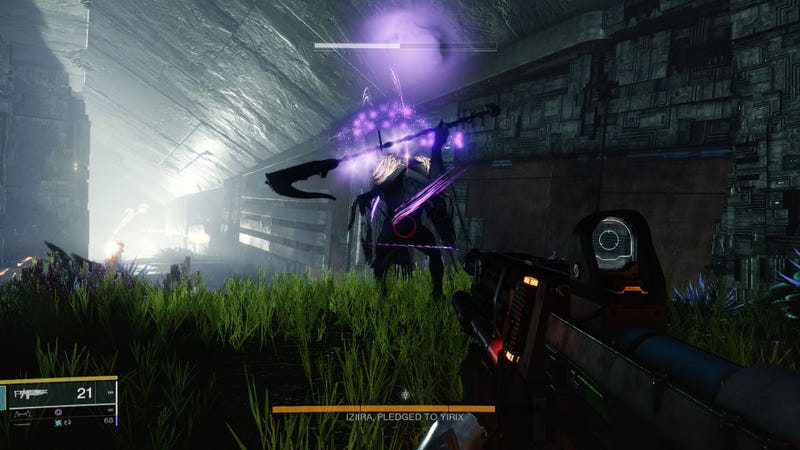
Iizira’s yet another Tormentor, so you know the drill by now: aim for the head and shoulder armor. There’s a few Shadow Legion milling about the narrow corridor here, but they’re pushovers. Take them out at your leisure while doing damage to Iizira. Same as Eexonios, though, once you’ve taken out a third of his health, he’ll vanish, dropping a blue module in the process. Head to the other side of the room and drop down. Take out the Legion down here, take a quick breath, and head through the next portal. Eexonios is back up. This area’s more cramped and less vertical than the jungle you landed in, so explosives are a little more useful in here as a means of crowd control. Second verse, same as the first, though: Take out the Legion, then focus on Eexonios till he drops a blue module and tags in Iizira again through the next portal.
So, bad news here is that Iizira’s second area is Respawn Restricted, so, if you were fighting these guys through attrition before, the jig is up. It doesn’t help that Iizira’s armor is off here, which means his weak spot’s easier to hit, but he’s in his far more aggressive form, and more prone to pull off that grab move that knocks off most of your health. The good news, at least, is that Iizira’s second room counts as a checkpoint, so if you wipe out, you’ll start the fight right here. Either way, same principles apply: take out the Legion first. That said, you’ll definitely want to use the stairs and the open portals in this area to your advantage to keep Iizira from being able to effectively divebomb you, and forcing him to make those floaty jumps he likes that keep him wide open. Once he vanishes here, grab the blue module, go through the new, unlocked portal for the final showdown.
You’ll now be forced to face these two at once. They share a lifebar, though, so any damage is good damage here, and, of course, now would be a wonderful time to pop your Super. For what it’s worth, neither one of these guys seem to be smart enough to chase you effectively around the back of the portal you spawn in here, if you’re looking for something resembling a safe zone. Either way, finish the job, crack open the chest up the stairs on the far side of this area, and go through the portal.
Violence against nature
In the new area, head to the upper right, and crawl through the cramped little passageway here. You’ll have an area swarming with Hydras and Cyclop…ses? Cyclopsi? Cyclopen? Whatever, a fuckbunch of Cyclops will be in here, but follow the path around the corner and keep moving upward using the little earthy ledges built into the cliffside.
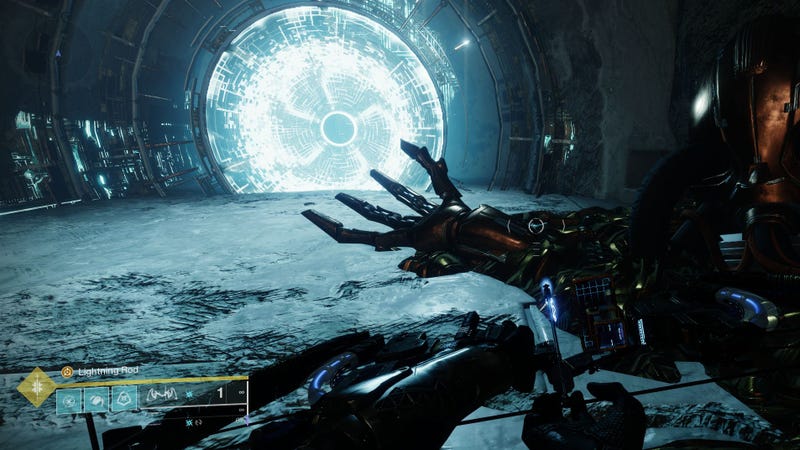
You’ll eventually reach a large chamber full of Vex Harpies and Independent Variables that, again, aren’t difficult but frustrating. Clear ‘em out, regardless, and head through the large orange cave area at the very top. Clean out the last few Vex before going through the portal. Stick around the lab to hear a delightful audio log about Maya Sundaresh’s astonishingly fucked up experiments with her former partner before moving onward.
Eventually, you’ll reach a massive chamber where you can place a banner. You’ve only got one more job to do.
Parodos Killer
Waiting at the end of this mission is Parodos, The Choral Mind, a fight with a Vex Hydra that isn’t difficult so much as tricky and involved. Kind of the leitmotif for this whole mission, really, but here, things can get really annoying really quick. I’m not saying this thing can’t be done solo, but as a solo D2 player, I can testify this was a crotchbite of a battle to do on my own.
So, let’s streamline things, first off. The sequence of events that needs to happen is thus:
- Kill an Independent Variable Minotaur to get a green module
- Use the green module in the middle container to reveal the middle platform and pillar. Activate the switch to reveal Parodos on the ceiling
- Go to Parodos’ side of the chamber, kill the Cyclops that spawned there, use the same green module to reveal the platform underneath him
- Stand on the red plate there to reveal the weak point on Parodos’ shield. Survive the Goblin horde that spawns.
- Destroy the triangular weak point on Parodos’ shield
- You have 20 seconds to do as much damage to Parodos as humanly possible before he vanishes
- Repeat
Sounds simple enough, and it kinda is, if not for the Independent Variable Minotaurs taking way too damn long to die, and the All You Can Kill buffet of Vex Goblins who keep getting in your way every step of this fight. If you didn’t come here alone, keep someone on stray Vex duty while the actual work gets done. If you are solo, equip a good mob weapon and a hard-hitting Power weapon. You’ll need to stay limber and mobile in the DPS phase since Parodos can do an equal amount of hard-hitting damage right back to you, but you need to be aggressive regardless, time is a factor.
At the 50 percent health mark, things get spicy. Parodus will cordon off the arena into three separate zones separated by red walls of death, and keep firing on you for a bit. Do a bit more damage to him, and he’ll vanish into one of the other zones. Now, killing an Independent Variable Minotaur will give you a blue module you can use to open a portal to the area where Parodus has shielded up again. Destroy the weak spot again, then unload everything you’ve got. Eventually, he’ll die. Again, if you’ve got an extra gun or two, this isn’t so bad. For solo players, though, there’s a lot to juggle, but take your time, and work smart (and from a distance, whenever possible), and it’s still very doable.
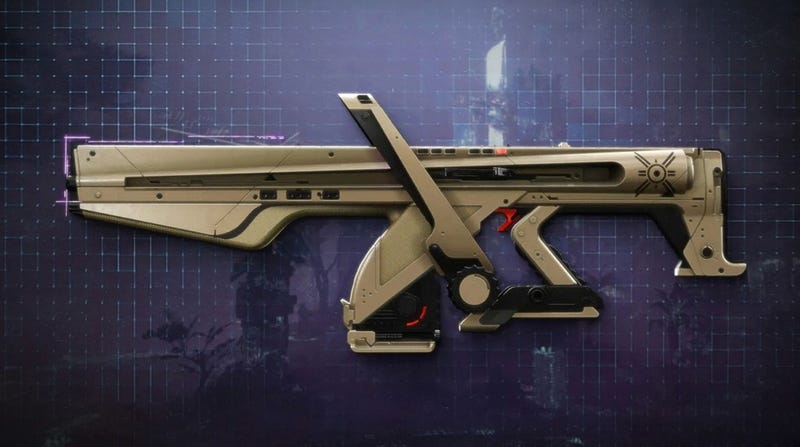
Either way, congratulations, when Parodos is dead, that’s another Exotic Mission in the books, and after you talk to Ikora and Failsafe, you win yourself one hell of an Auto Rifle in Choir Of One. You can make it even better with the Exotic Catalysts you can find by beating Encore: Overture on Expert, if you’re feeling lucky/crazy.
.
Leave a Reply